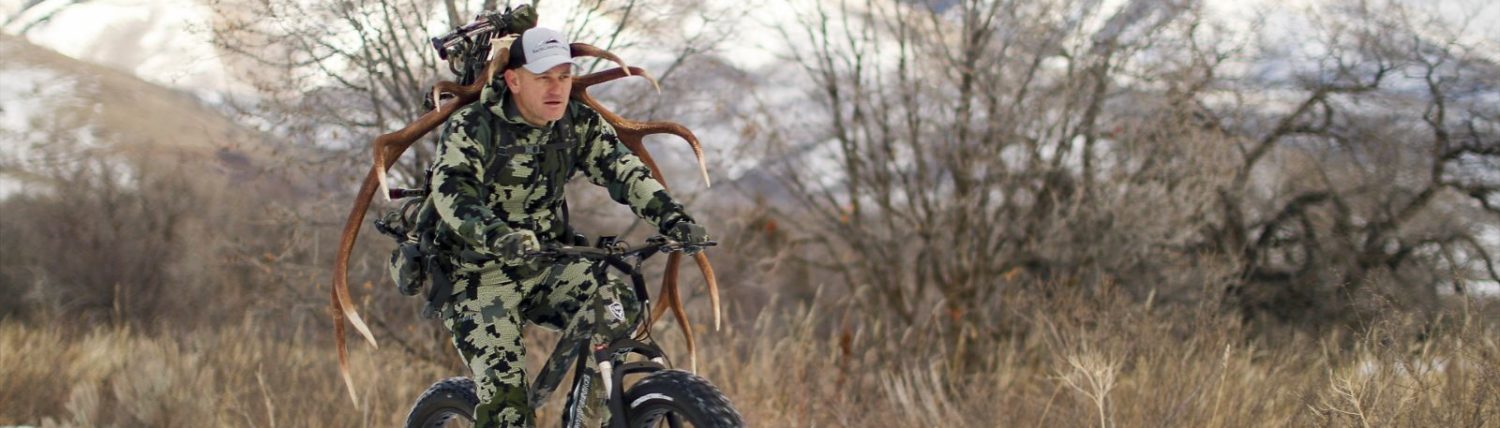
Look, I’m going to level with you. The first hunting eBike I owned? I treated it like a mule. Rode it through every mud pit, creek bed, and bramble-choked trail in Pennsylvania, then parked it in my garage wet and forgot about it until the next weekend. Within two seasons the chain was so corroded it sounded like a box of angry squirrels, the brakes had all the stopping power of a polite suggestion, and the battery wouldn’t hold a charge past my mailbox. I basically turned a two-thousand-dollar machine into a very expensive coat rack.
Don’t be me. Or at least, don’t be 2021 me. I’ve since learned that maintaining a hunting eBike doesn’t take a mechanical engineering degree or a fancy workshop. It takes maybe 30 minutes before each ride and a couple hours of seasonal work. Here’s everything I’ve figured out, mostly the hard way.
Seasonal Maintenance: Spring Wake-Up and Fall Prep
Spring: Getting Your Bike Out of Hibernation
After a long off-season, your eBike needs some attention before you start pre-season scouting. Start by giving the whole bike a thorough visual inspection. Check the frame for cracks, especially around the welds and where the motor mounts. Look at every bolt and make sure nothing vibrated loose over winter storage.
Charge your battery fully and let it sit for a day, then check if it holds that charge. If it drops more than 5% overnight sitting idle, you might have a cell issue. Top off your tire pressure (more on that below), lube the chain, and take it for a short test ride around the neighborhood before you head for the backcountry. Yes, your neighbors will stare. Let them.
Fall: Pre-Season Tune-Up
This is the big one. Hunting season is coming and you need your bike dialed. About two weeks before opener, do a full maintenance pass. Replace brake pads if they’re worn past the indicator line. Swap the chain if it’s stretched (a chain checker tool costs about eight bucks and saves you hundreds in cassette replacements). Check your tire tread depth and look for sidewall damage from last season’s thorny adventures. Make sure all your lights, GPS mounts, and accessories are secure.
Winter Storage
When the season wraps, clean your bike thoroughly (see below), lube everything, and store it somewhere dry and temperature-controlled. The garage is fine as long as it doesn’t dip below freezing regularly. Store batteries between 40-80% charge and top them off once a month. I know, I know. Set a phone reminder. Future you will thank present you.
The Pre-Hunt Checklist (Print This Out)
Before every single ride, run through this. It takes five minutes and it’s saved my bacon more times than I care to admit.
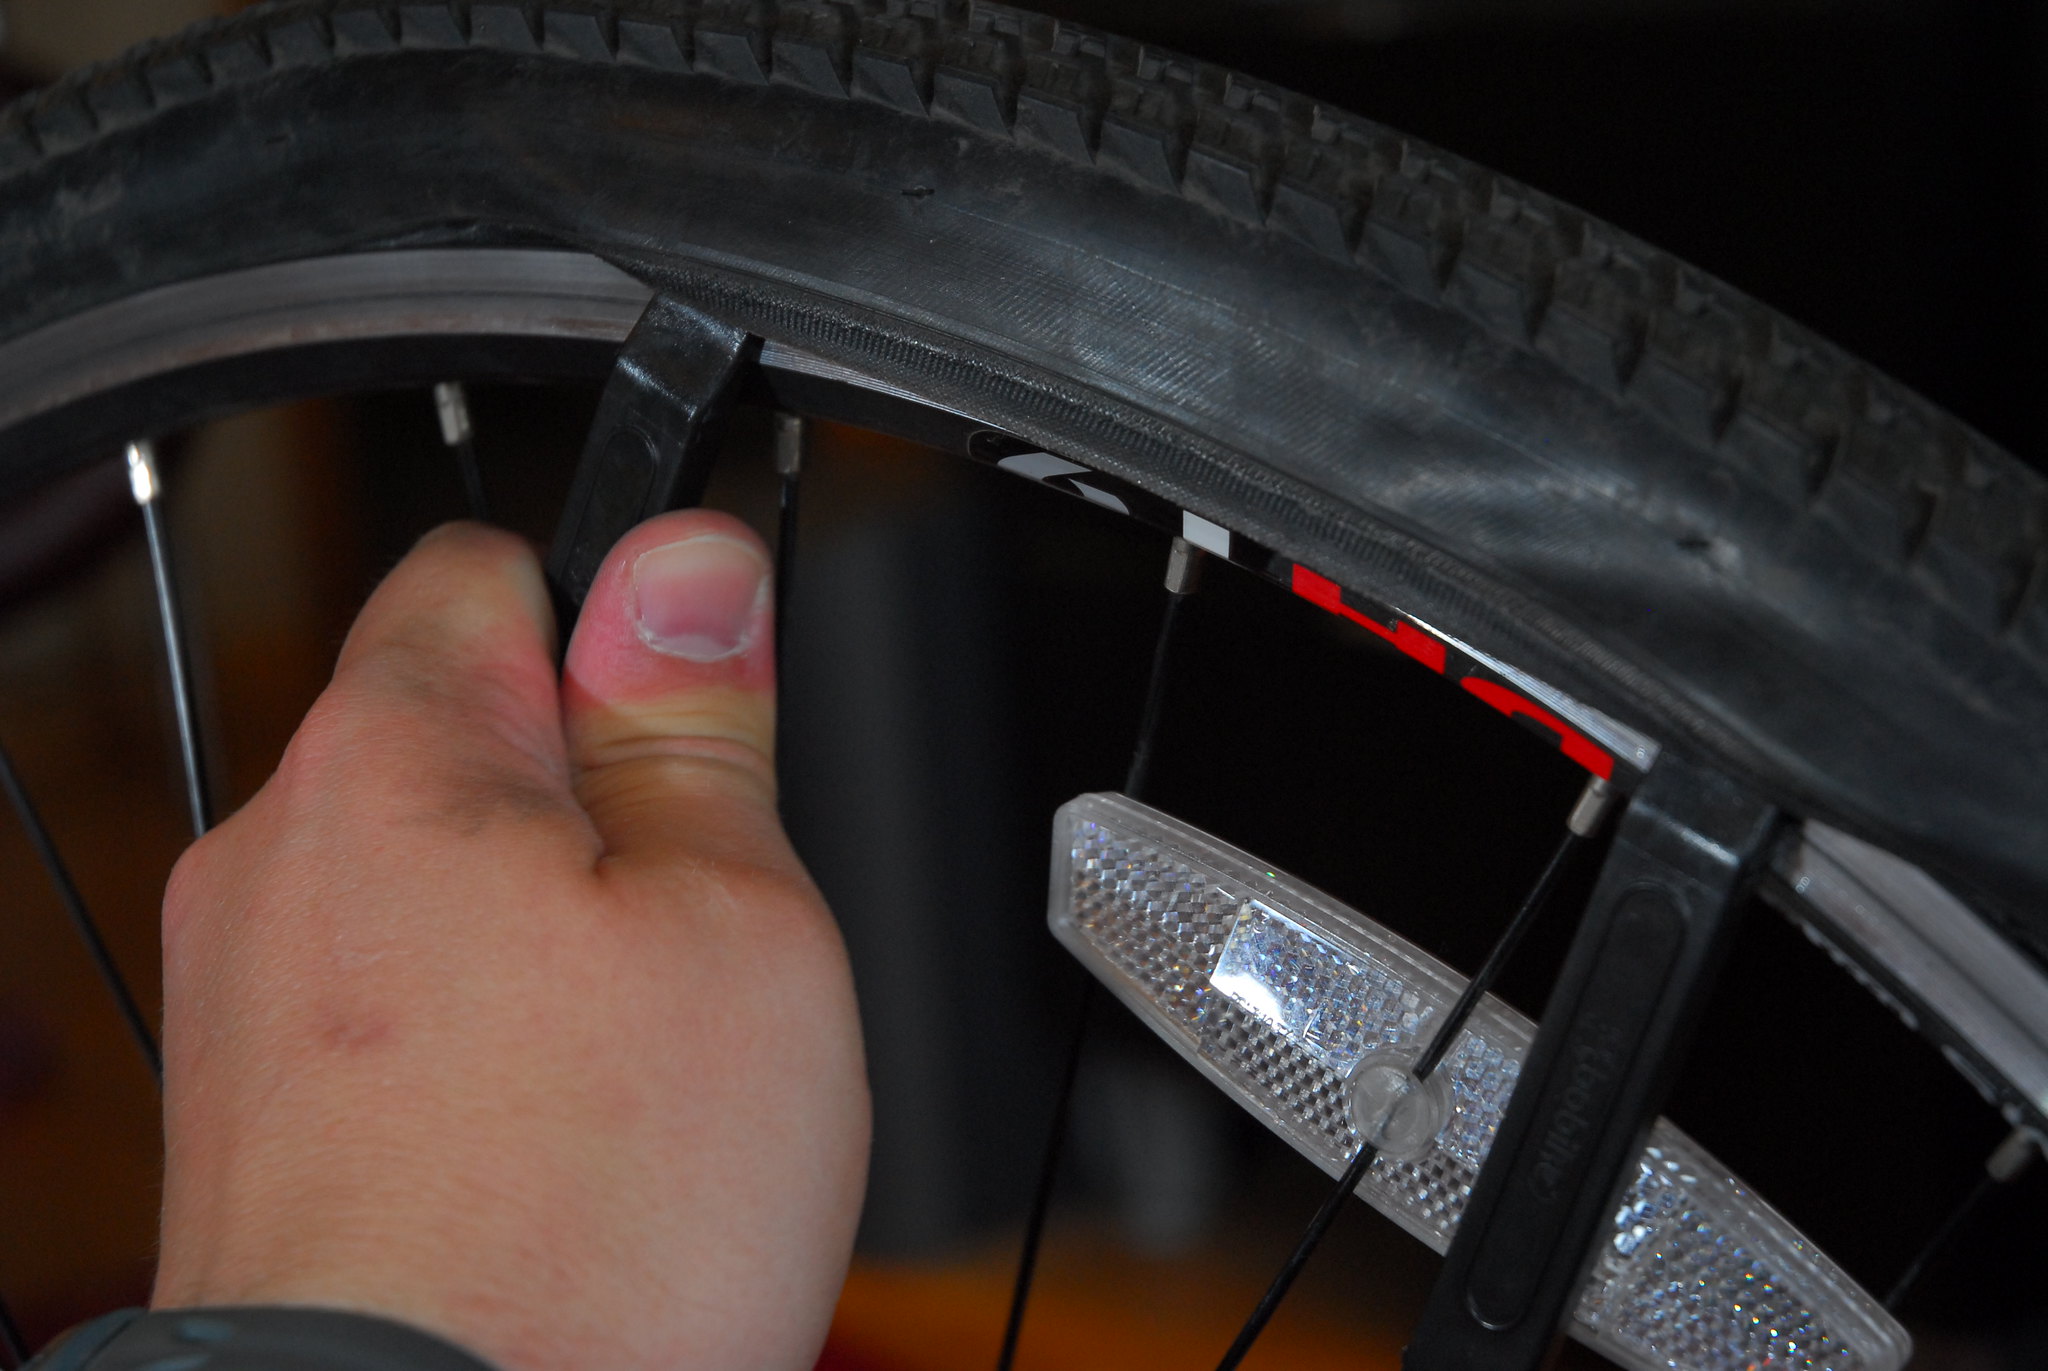
- Tire pressure: Check with a gauge, not your thumb. You want 8-15 PSI for fat tires on soft terrain, 15-25 PSI for hardpack trails.
- Brake test: Squeeze both levers. They should engage firmly without pulling to the bar. If they feel spongy, you’ve got air in the hydraulic lines or your pads are toast.
- Chain: Spin the pedals backward and watch the chain. It should run smooth without binding or skipping. If it looks dry, hit it with lube.
- Battery charge: Fully charged. Always. You don’t want to be pushing a 70-pound eBike two miles back to the truck in the dark because you figured “60% is probably fine.”
- Bolts and quick releases: Give your handlebars, seat, and wheel axles a quick wiggle. Nothing should move that shouldn’t.
- Lights and electronics: Test your headlight, taillight, and display. Make sure your phone mount is secure if you use one for GPS.
Chain Care: The Single Most Important Thing You Can Do
I’m going to die on this hill. Chain maintenance is the highest-ROI thing you can do for your hunting eBike. A clean, lubed chain runs quieter (critical for not spooking game), shifts smoother, and lasts dramatically longer. A neglected chain will chew through your cassette and chainring, turning a $15 fix into a $150 fix real fast.
Here’s my process. After every muddy ride, wipe the chain down with a rag. Every three to four rides (or after any wet ride), do a proper cleaning: use a chain cleaning tool or an old toothbrush with degreaser, scrub the chain, rinse, dry it completely, then apply a quality chain lube. Use wet lube for muddy and wet conditions (which is basically every hunting scenario) and dry lube for dusty, dry trails.
Apply lube to each link while slowly spinning the pedals backward. Then wipe off the excess. Excess lube attracts dirt and grit, which is basically sandpaper for your drivetrain. Less is more.
Brake Adjustment: Because Trees Don’t Move
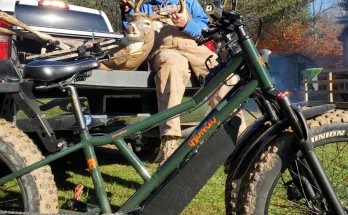
Hunting eBikes are heavy. Add a rider, gear, and maybe a game cart with a deer, and you’re looking at 350+ pounds of momentum barreling down a trail. Your brakes need to be perfect.
If you’re running hydraulic disc brakes (and most hunting eBikes do), check your brake fluid reservoir every few months. If the lever pulls close to the handlebar before engaging, you either need new pads or a bleed. Pad replacement is easy enough to DIY. Bleeding hydraulic brakes is a little more involved, but there are plenty of tutorials online and the kits run about $25.
For mechanical disc brakes, keep the cable tension adjusted so the pads sit close to the rotor without rubbing. You should hear silence when spinning the wheel, not a rhythmic scraping sound. Use the barrel adjuster on the brake lever to fine-tune.
One tip that took me way too long to figure out: if your brakes squeal, clean the rotors with isopropyl alcohol and scuff the pad surface with fine sandpaper. Never use WD-40 or other oils near your brake rotors. Ever. Trust me on this one.
Battery Storage and Care
Your battery is the most expensive single component on your eBike. Treat it accordingly. The big rules are simple.
Don’t store it fully charged or fully depleted for long periods. The sweet spot is 40-80%. Don’t charge it in extreme cold (below 32F) or extreme heat (above 110F). If you ride in cold weather, keep the battery inside until you’re ready to ride, then install it. Cold batteries lose range temporarily, but charging a cold battery can cause permanent damage.
Don’t leave it on the charger for days after it’s full. Most modern chargers cut off, but it’s still not great practice. Store the battery in a cool, dry place. If your bike lives in a shed or unheated garage, bring the battery inside for winter.
A well-maintained lithium battery should give you 500-1000 charge cycles before significant degradation. That’s years of hunting if you treat it right. If you’re shopping for replacement batteries or considering a new eBike, brands like Bakcou, Himiway, and Rambo use quality cells that hold up well over time.
Tire Care for Off-Road Hunting
Fat tires are amazing for hunting. They float over soft ground, grip in mud, and absorb trail chatter. But they need attention.
Check pressure before every ride (yes, every ride). Fat tires lose pressure faster than you’d think, and a couple PSI makes a huge difference. Running too low risks pinch flats and rim damage. Running too high sacrifices traction and comfort.
For general hunting terrain, I run 10-12 PSI. For snow or sand, drop to 6-8 PSI. For hardpack, pump up to 15-20 PSI. Experiment and find what works for your local trails.
Inspect your tires for embedded thorns, glass, or wire after every ride. A small puncture might seal itself temporarily, but it’ll let go at the worst possible moment. Carry a patch kit or a spare tube, because getting a flat three miles into the woods is a special kind of misery. Ask me how I know.
Cleaning After Muddy Hunts
This is the part nobody wants to do. You just spent all day in the field, you’re tired, it’s getting dark, and your bike looks like it lost a fight with a swamp. I get it. But at minimum, you need to do one thing before you put that bike away: rinse the mud off.
A garden hose with moderate pressure works great. Do NOT use a pressure washer. I cannot stress this enough. High-pressure water forces past seals on your bearings, motor, and electrical connections. It’ll cause corrosion and bearing failure faster than anything else. A gentle hose and a soft brush are all you need.
Hit the drivetrain, the brakes, and the underside of the frame where mud packs in. Let it dry, then lube the chain. Once a month, or whenever the bike gets really filthy, do a more thorough cleaning with bike-specific soap. Avoid dish soap because it strips protective coatings.
Pay special attention to the electrical connections. Make sure the battery contacts are clean and dry. Check the motor area for mud buildup that could trap heat. And clean your brake rotors, because contaminated brakes are useless brakes.
Derailleur Check: Keep Your Shifting Smooth
A misadjusted derailleur means sloppy shifting, dropped chains, and frustration when you’re trying to downshift on a steep climb. Before each season and any time shifting feels off, take five minutes to check it.
Start by putting the bike in a stand (or flip it upside down) and slowly pedal while clicking through all the gears. Each shift should be crisp and quiet. If the chain hesitates going up or down the cassette, or if you hear clicking in certain gears, the cable tension needs adjustment.
Most derailleurs have a barrel adjuster where the cable enters the derailleur. Turn it a quarter turn at a time while pedaling. If the chain won’t shift up to a larger cog, increase cable tension (turn the adjuster counterclockwise). If it won’t drop down to a smaller cog, decrease tension (clockwise). Small adjustments make a big difference.
Also check the derailleur hanger. This is the small metal piece that bolts the derailleur to the frame. If you’ve ever laid the bike down on its right side or caught a branch, the hanger can bend. A bent hanger throws off your entire shifting alignment. Hanger alignment tools exist, but honestly, if it looks bent, just replace it. They’re cheap and specific to your frame, so keep a spare in your home workshop.
Reading Your Battery Display
Most hunting eBikes have an electronic display that shows more than just the battery bar. Take a few minutes to learn what yours can tell you.
Beyond the basic charge level, many displays show voltage. A fully charged 48V battery reads around 54.6V. When it drops below 44V, you’re running on fumes. If you’re deep in the backcountry, knowing your actual voltage gives you a much more accurate picture of remaining range than the battery bars, which can be misleading.
Some displays also show total miles, trip distance, average speed, and current wattage draw. The wattage reading is especially useful. If you’re pulling 600W on flat ground, something is wrong (low tire pressure, dragging brakes, or a mechanical issue). Normal cruising on flat terrain should be 150-300W depending on your assist level. Watching this number helps you ride more efficiently and extend your range when it counts.
If your display has a settings menu, check whether you can adjust the pedal assist levels or set a speed limit for trail compliance. Bakcou’s Smart motor system lets you toggle between Class 1, 2, and 3 modes right from the display.
Tool Kit Essentials: What to Carry and What to Keep at Home
Trail Kit (Carry This Every Ride)
- Multi-tool with Allen keys (4, 5, 6mm are the most common), Phillips and flathead screwdrivers, and a chain breaker
- Spare tube (know your tire size before you buy)
- Mini pump or CO2 inflator
- Tire levers (2-3)
- Quick link for your chain (match it to your chain speed, e.g. 8-speed, 9-speed)
- Zip ties and electrical tape
- Small rag
Home Workshop Kit
- Chain checker tool
- Chain cleaning tool and degreaser
- Quality chain lube (wet and dry)
- Torque wrench (critical for carbon components, very helpful for everything else)
- Brake bleed kit (specific to your brake brand)
- Tire pressure gauge
- Bike repair stand (a $40 stand makes every job ten times easier)
- Spare brake pads (match to your brake model)
- Isopropyl alcohol for brake rotors
- Derailleur hanger alignment tool (optional but handy)
- Spare derailleur hanger (specific to your frame, keep one on hand)
Putting It All Together
Here’s the honest truth. Most of this stuff is easy. None of it requires special skills or expensive tools. The hard part is actually doing it consistently, especially when you’re excited to hit the trail or exhausted after a long day in the field.
Build the habits early. Make the pre-ride check automatic. Clean the bike when you get home, not “tomorrow.” Stay on top of your chain. Your eBike is a tool, and like any good tool, it rewards the people who take care of it.
I learned all of this through laziness, broken parts, and expensive shop visits. You don’t have to. Your hunting eBike will last for years and years if you give it even basic attention. And when your buddy’s bike dies two miles from the truck and yours is still running smooth? That’s a pretty good feeling. Not that I’d ever gloat about it. Much.