
There is no better way to spend a free afternoon than getting hands dirty and doing a DIY project. If you’ve been hunting for a while now, chances are you have more than one hunting knife.
Storage or some sort of a holder would be a great solution – but how to make a magnetic knife holder so you don’t have to purchase one?
In this post, you’ll find step-by-step instructions showing you steps to make a magnetic knife holder with the tools you possibly have in a garage.
Even if you don’t have a couple of hunting knives, you might end up surprising your wife with a stylish knife holder that will fit well right in the kitchen.
But What Will You Need?
While this might seem like a complicated DIY – don’t get discouraged. It’s most likely you have most of the tools right in your home or a garage.
And if you do – one thing you’ll need are magnets. Most hunters don’t have magnets just laying around, but the good news is that they’re not very expensive.
Therefore, here’s a list of materials and tools you’ll need before proceeding:
- The wood of your choice
- Magnets
- Glue or adhesive
- A couple of screws
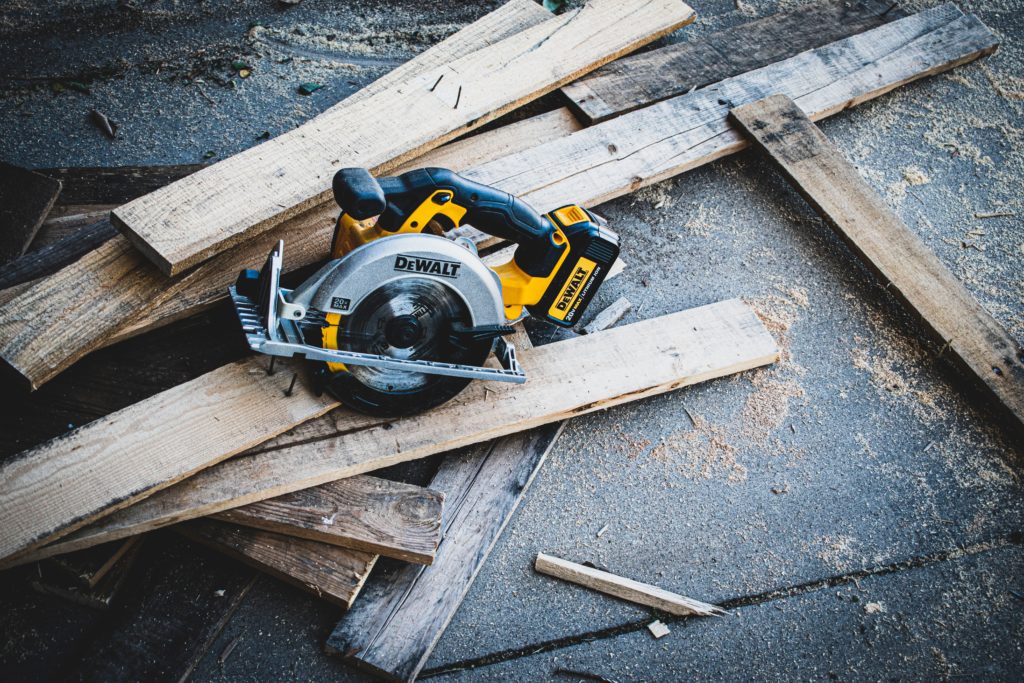
- Table saw
- Router
- Drill
If you have all materials and tools, that’s awesome – but if you don’t, no worries – still proceed to the steps so you can learn more about the process and which type of materials you’d need to buy.
How to Make a Magnetic Knife Holder
The process is fairly simple, and if you’re creating your first magnetic knife holder – there are high chances of succeeding right from the first try.
However, I always recommend having another piece of wood, just in case you make a mistake or you aren’t happy with the finish.
And if you’re ready – read on to find out exactly how to make a magnetic knife holder from beginning to the end.
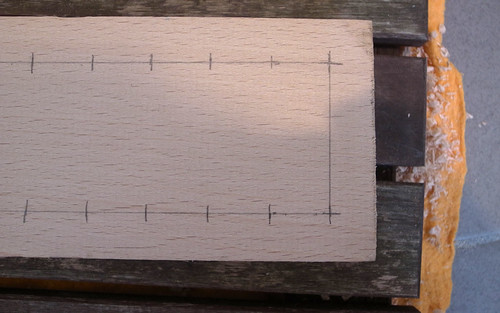
Choose Size

Since we’ll be creating a magnetic knife holder out of wood – it’s up to you choose the desired size of the holder.
How big would you like it to be? What type of knives will you be having attached?
If you have no idea, here are the recommended dimensions you could rely on – 2″ (tall) x 16″ (wide) x 3/4″ (thick), thick cherry wood type.
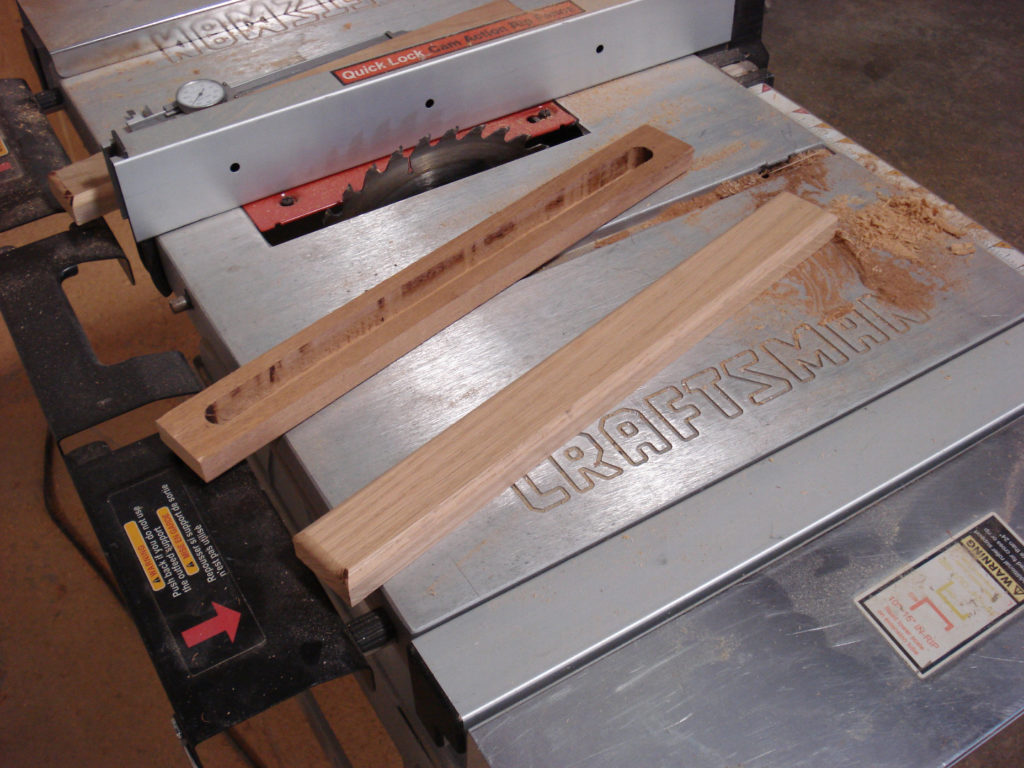
Create a Groove
Once you have your wood of the chosen dimensions – it’s time to get down to work and cut out the groove.
This step is very necessary because you will be placing the magnets inside the groove later on. You’ll want to cut the groove in the back of the wood.
Make sure to always use the nicer side of the wood as the front. Ideally, you’d want to leave about 1/16″ thickness of the remaining wood inside the groove.
It’s important to get the thickness right – otherwise, your magnets might not be efficient.
Pay Attention to the Finish
Once you’ve cut out the groove and you got the size & thickness right – before proceeding to the next step which is placing the magnets inside, you’ll have to sand the groove so it’s smooth.
Since you won’t be required to do any cutting in the next steps – you can take your time to ensure the finish is meeting your quality standards.
Place the Magnets
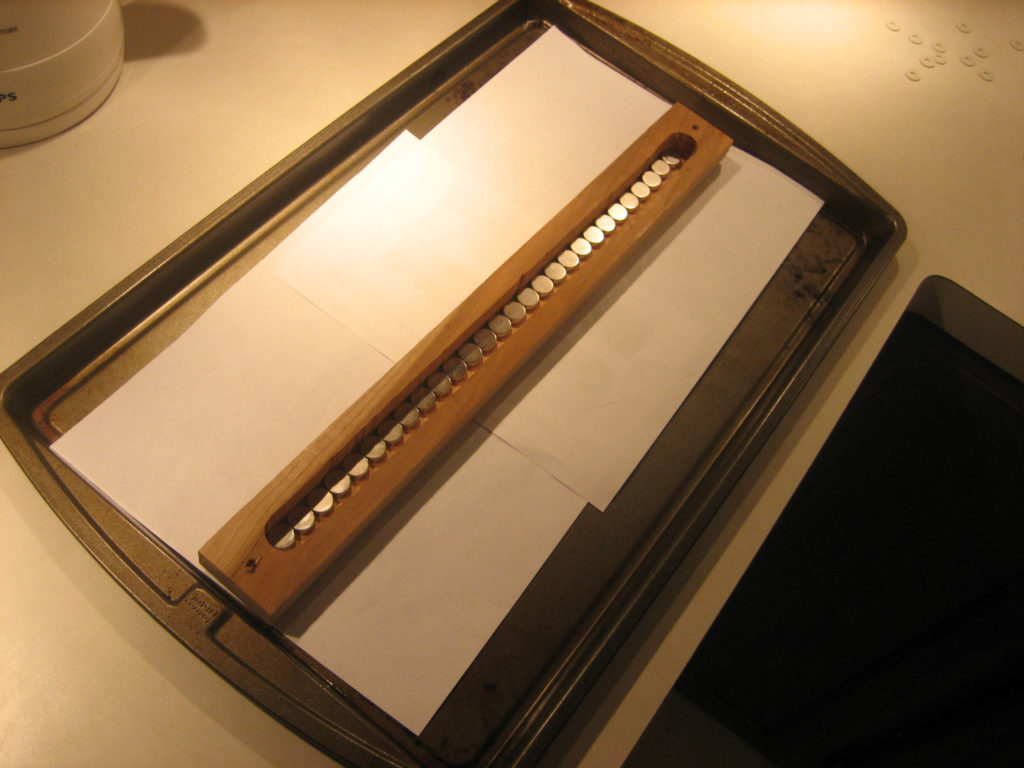
You’re almost halfway there – and it’s time for the most interesting part. It’s time to place the magnets inside the groove.
Ideally, you’d want to place the wood on a metal tray so once you place the magnets in the groove, you know they’ll stay in the same position until you adhere to them.
Another thing you should pay attention to is the orientation of the magnets. Always place the magnets in alternating polarities.
This way, the magnets themselves will have a stronger bond together which results in better holding power.
Adhere the Magnets
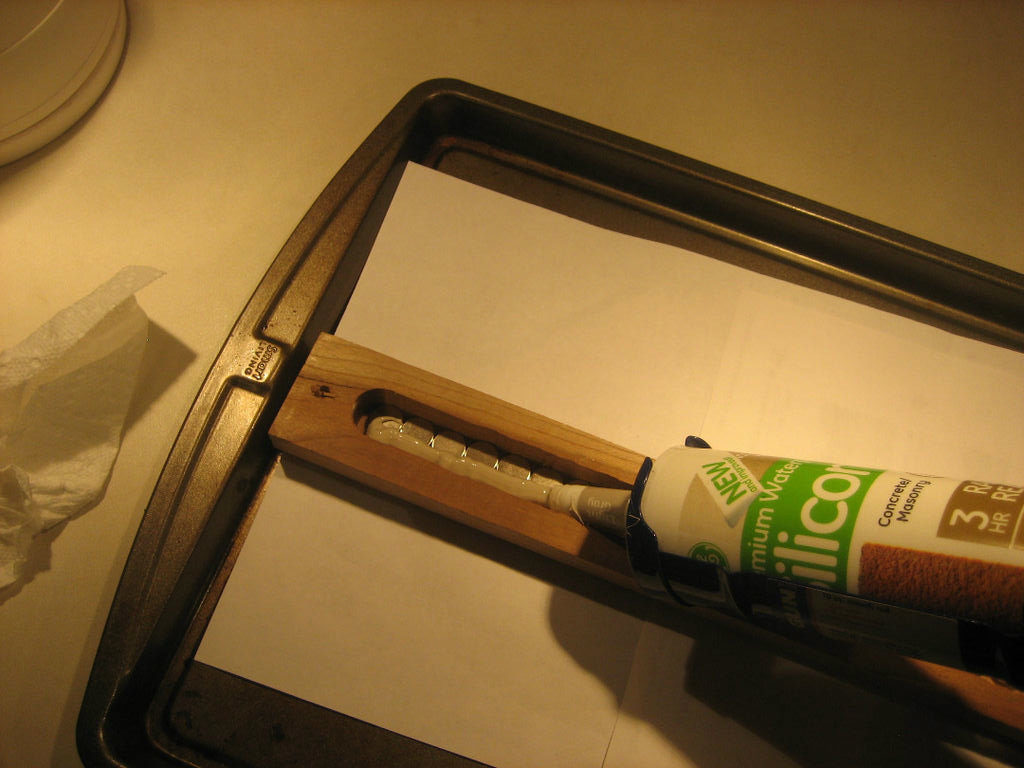
Once you’ve carefully placed the magnets inside the groove you’ve made earlier – it’s time to adhere the magnets.
I highly recommend double-checking that the magnets are placed in the correct order before you adhere them.
I find the silicone adhesive to be the most efficient type of glue you can use for this project. But how much glue do you need to add?
You want to make sure to cover all magnets with glue. You can feel free to use as much glue as you want – as long as the glue stays inside the groove.
Install the Holder

Before installing the holder, you should let the glue dry. Once you are sure the glue is dry – it’s time for the last step which is the installation of a holder.
If your glue isn’t dry just yet – no worries. Take your time and in the meanwhile, you can come up with an ideal place to install the holder.
The best method to install this holder into a wall is to install it using screws. However, I highly recommend drilling out the holes as screwing the screws through the wood might damage it.
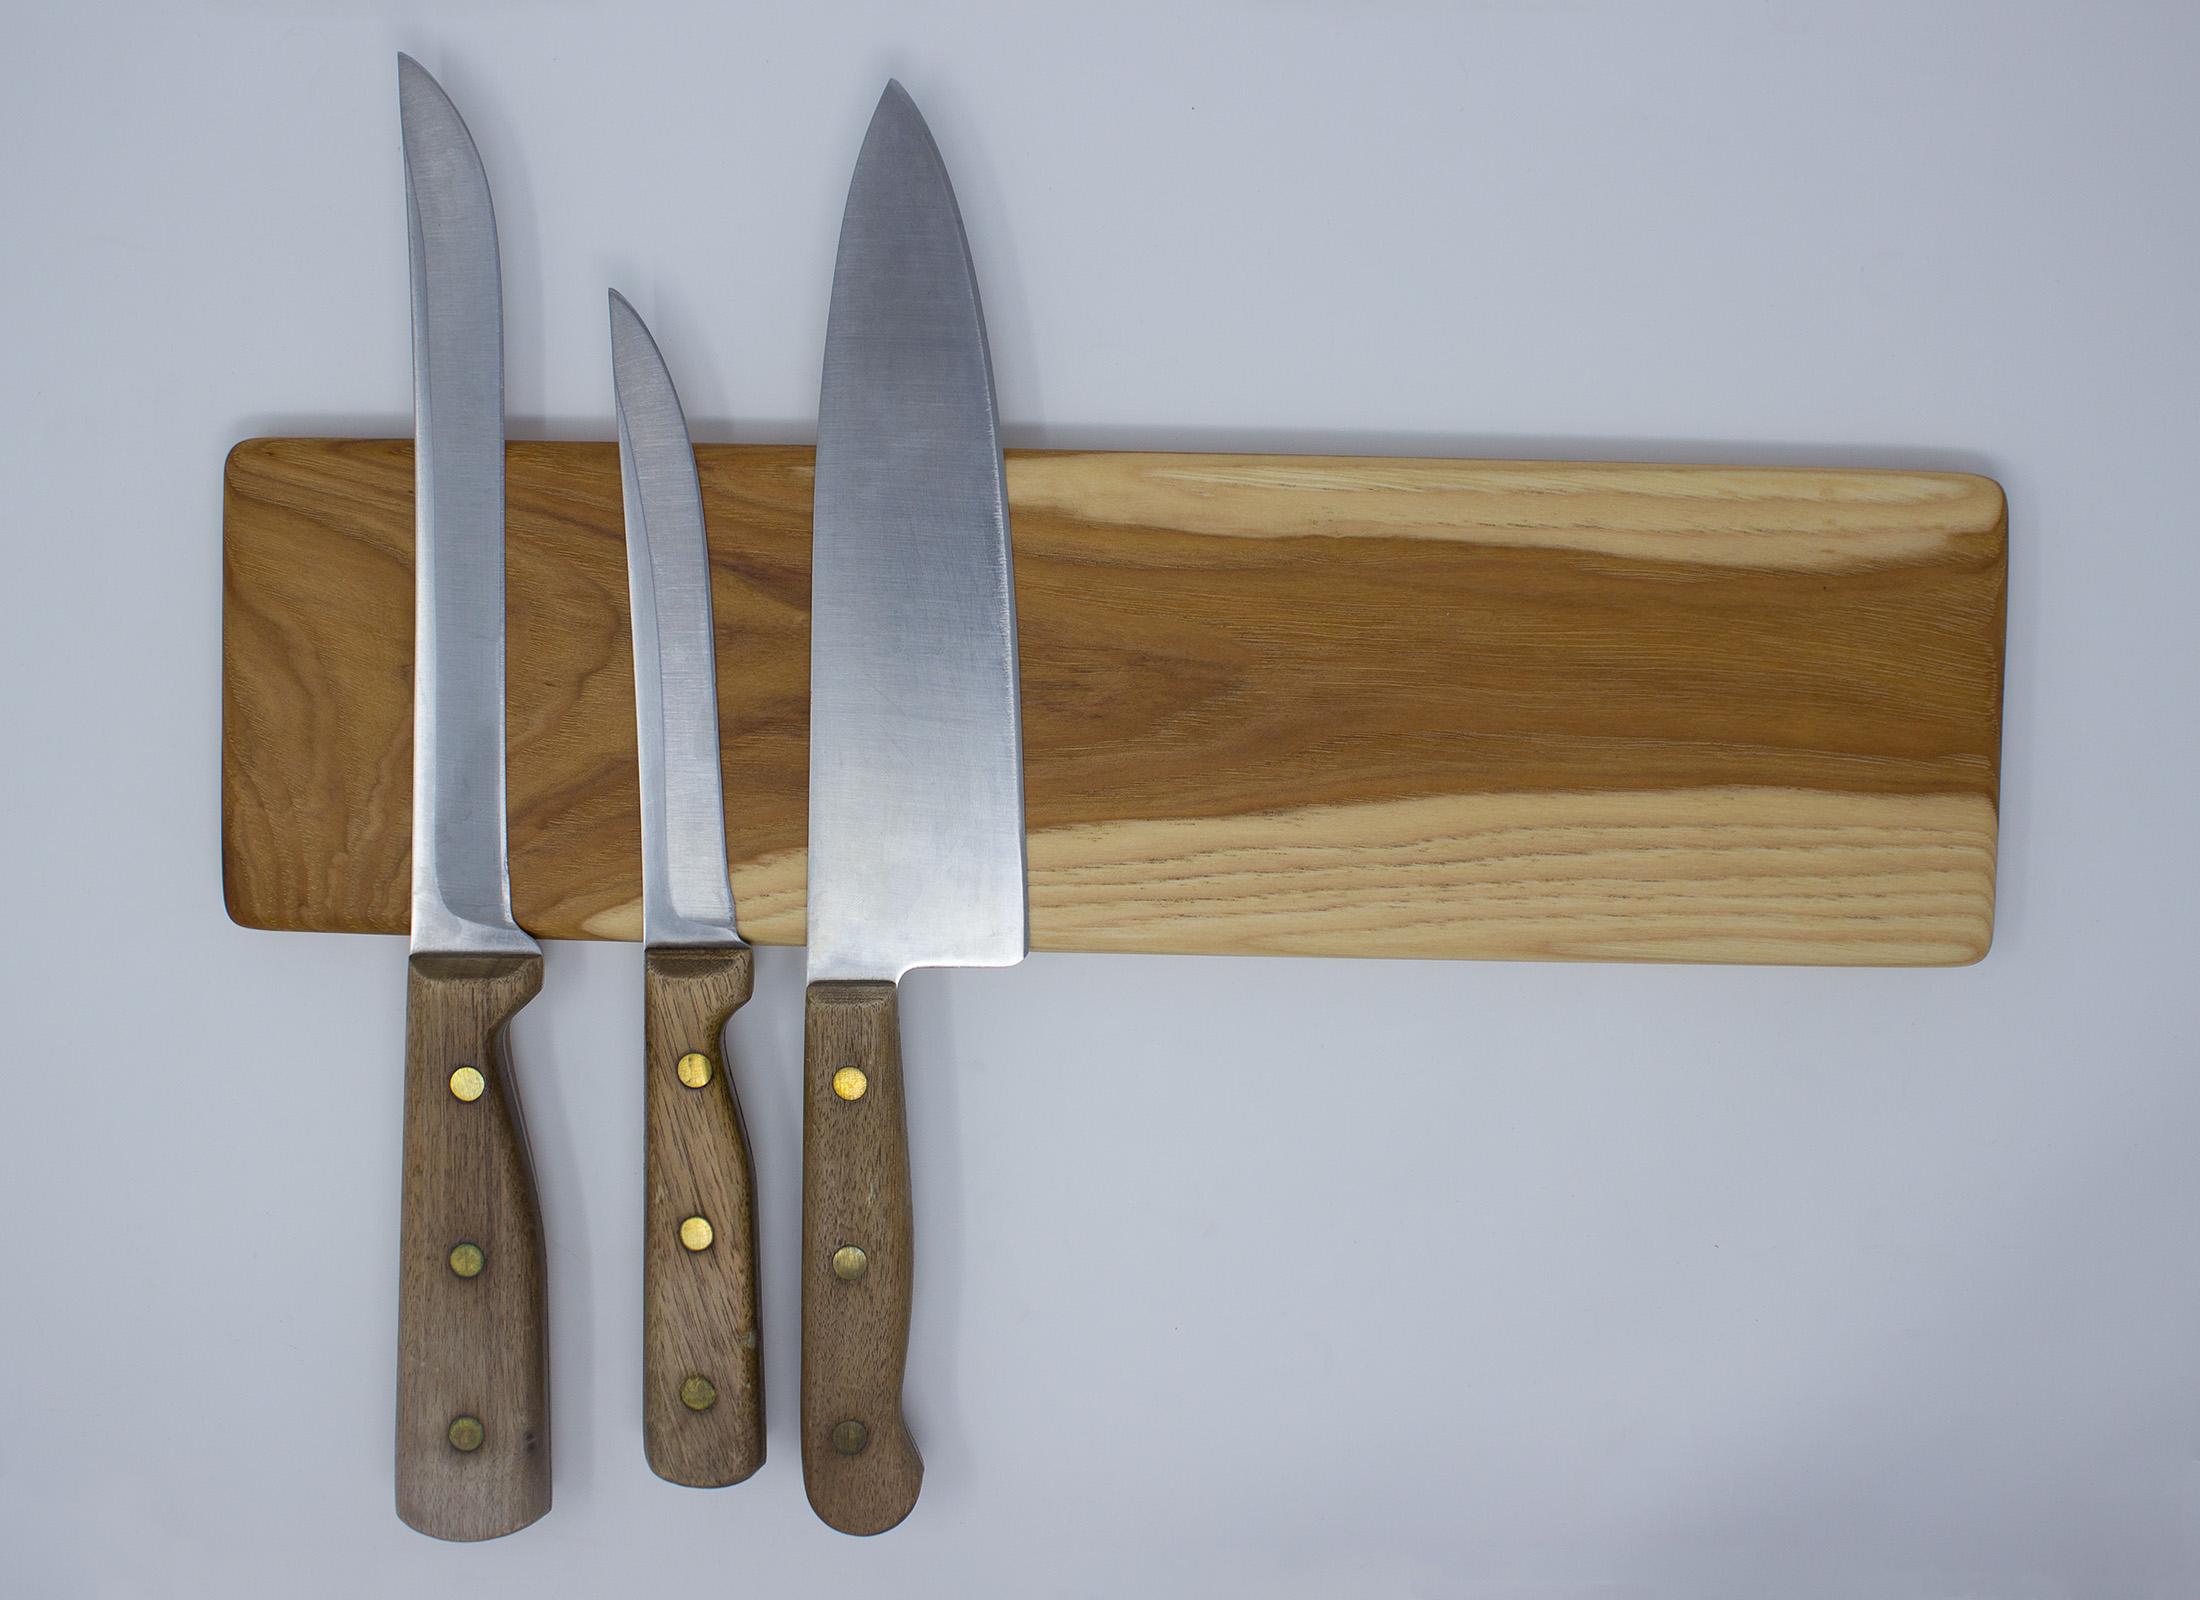
When you have the holes ready, fasten the magnetic knife holder to the wall, grab your hunting knives and display them.
The last thing you want to do is sit back, look at your work and enjoy it!
Conclusion
This is one of the easiest yet the most efficient DIY’s you can do in your free time – and yet it won’t take a whole lot of your time.
The only thing you should pay attention to is the thickness of the wood (after cutting out the groove) and the magnet size.
The thicker the wood is after cutting out the groove – the larger magnets you will have to place inside the groove. It’s simple as that.
I highly recommend neodymium magnets for this project – but if you do use them, be careful when placing them inside the groove.
Since these types of magnets are very brittle and hard, they might break if they’re slammed together. Instead, take your time and gently place the magnets in the groove one by one.
How did you like this DIY project? Will you be attempting to make your magnetic knife holder?
Hopefully, this post showed you how to make a magnetic knife holder in a very simple & efficient way. However, if you have any questions – feel free to ask them in the comments down below!